The digital landscape has changed dramatically for content generation and consumption over the last decade. Tools and strategies emerge every day that offer new ways to broadcast and monetize your content.
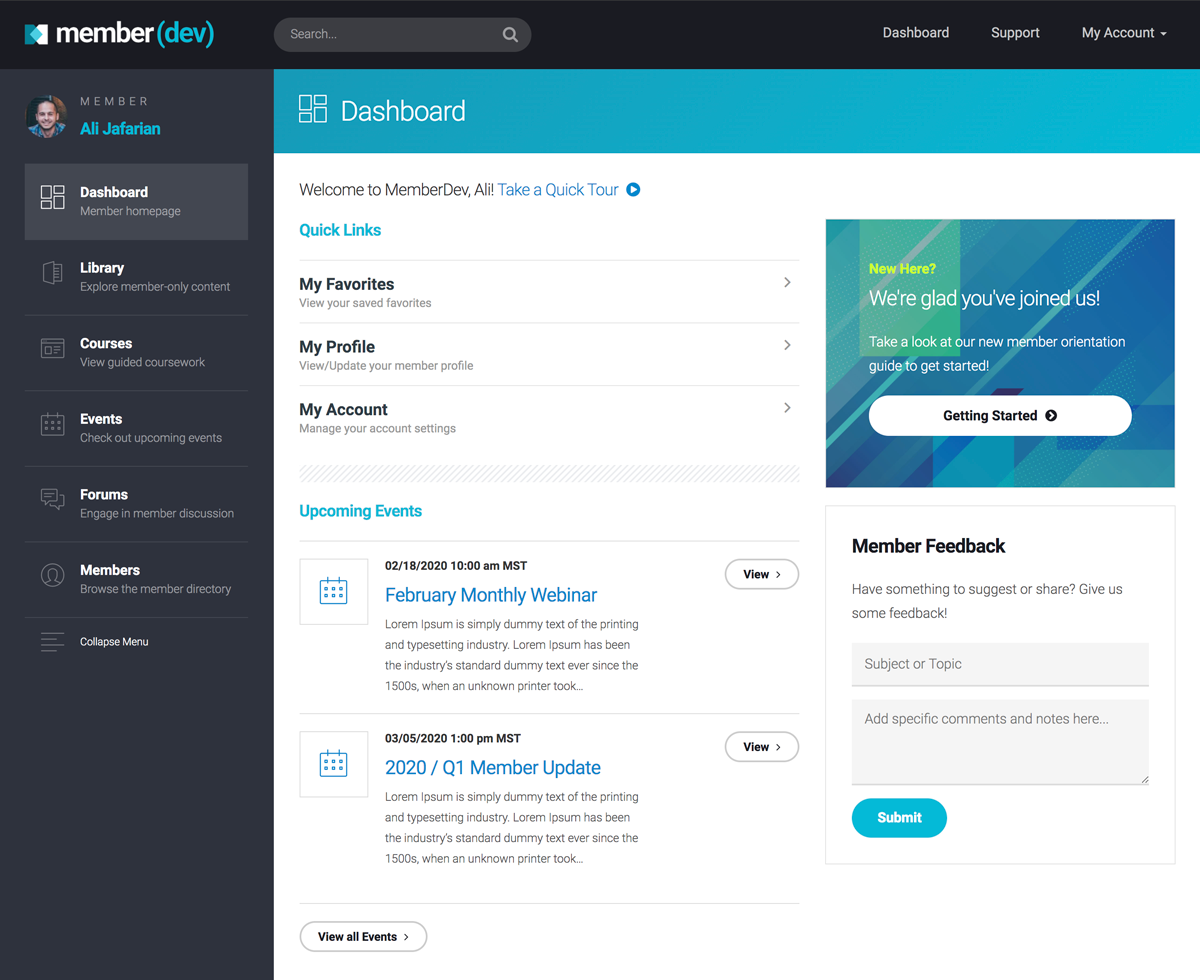
One particular avenue that continues to grow is the subscription model, also known as membership websites. To be specific, websites that offer users content in exchange for a recurring price (ex: $9.99/month). These websites continue to pop up in all shapes and sizes, from small micro blogs to enterprise level learning sites. Technology is allowing more entrepreneurs to distribute their content easily and affordably, which in turn allows them to launch and scale new online businesses.
However, it’s important to note that this wasn’t always an easy task… since the tools didn’t exist 10 years ago to make this possible. But now you can launch an online business with proprietary content and some time. In other words, if you have experience in a specific field and you’re willing to put the work in, you can launch an online business within months!
Now is the time.
Great. So how do I do it?
The first step is to give some initial thought to your business model – what kind of content you’ll be offering and at what price points. For example, you might sell online lessons for a specific craft. You’ll offer access to your lessons via 2 membership options:
Monthly @ $12/month
Annually @ $99/year
Next, let’s discuss some tools needed to launch your new site.
1) Website Hosting
The first thing you’ll need is web hosting, which allows you to build a website that will host your content. There are tons of options out there, and you may already have [or be aware of] a preferred hosting company. If not, my recommendation is to use GoDaddy. It’s super simple to setup and they offer solid support for times when you get stuck.
You’ll want to choose one of their WordPress Hosting plans (more info on that below). I recommend the Deluxe Plan for $9.99/month. You can sign up for that here.
2) WordPress
If you’ve never heard of WordPress before it’s the most popular [and powerful] content management system available. It’s also free and very powerful. WordPress was originally designed for blogging years ago, but has become the industry standard for building custom websites. Some people might disagree, the same way they disagree on politics, but I can assure you that WordPress is the right choice for your membership site.
WordPress offers complete flexibility and control, which many other solutions can’t offer. You can also choose from thousands of themes, which are pre-made templates that already have basic design elements. Lastly, there are many developers that build for WordPress all over the world, so you’ll have no problem finding a contractor if you decide to hire help for your site.
Using a hosting provider like GoDaddy makes installing WordPress a breeze. In fact, their WordPress hosting plans allow you to install and configure a WordPress site within minutes. Or, they’ll set things up for you as part of their service. This is one of the reasons I recommend using GoDaddy for hosting.
3) Membership Platform
Once you have WordPress installed the next step is to choose a membership platform (or plugin). WordPress has many membership plugins available. These plugins allow you to create membership levels, accept online payments, and protect your content (among many other features).
I’ve used quite a few of them and found that the industry leader is MemberMouse. MemberMouse separates itself from other plugins with these key features:
- Flexibility
- API Integration
- Ongoing Support
These features are essential if you plan to scale your business. If your goal is to just make a little extra money on the side you could probably get by with a different solution, but MemberMouse still works for simpler business models as well. The only thing it’s not great at is the shopping cart experience – for that, you’d want to use something like WooCommerce.
MemberMouse also has a great knowledge base with step-by-step tutorials, so you don’t have to wait for anyone. You simply select a plan and get started. I recommend their Starter Plan for $19.95/month, which includes a 14-day Free Trial. You can sign up at membermouse.com (click “Get Started for FREE”).
4) Setup a Merchant Account
Once you have MemberMouse installed the last step is to create a free account with a provider like Stripe or Braintree. These tools allow you to accept online payments, and they integrate directly with MemberMouse so all you have to do is enable a few settings and you’re ready to go.
And that’s all there is to it. Within hours you can have an operational membership site. The only thing missing is your content, which is up to you!
Final Notes
This article was meant to convey how easy it can be to create a membership site. The actual process and effort will vary depending on your aptitude and willingness to learn, which is the case with any new task. For many people it’s much more effective to hire someone to do this… but for the “go-getters” this is a great starting point for their next venture.
Contact us today for a Free Project Quote


